2013年2月17日 星期日

Constant Pointers and Pointers to Constants

原文

  1. (1) const char * myPtr = &char_A;
  2. (2) char * const myPtr = &char_A;
  3. (3) const char * const myPtr = &char_A;
  4. 的不同
(1)理解:const (char* myPtr).....所以是指向的內容為常數,指向的內容不可改,但是指標可以指向其他位址

(2)理解 :char* (const myPtr)....指標為常量,是一種指向固定位置的指標,不能指到其他位址,但是其位址的內容可以更動

2013年2月11日 星期一

Code::blocks 一些設定


FROM

說明:

1)以下需要設置的地方均在Settings->Editor...彈出的對話框中。

2)不少命令都可針對當前行或選中的代碼塊,下文簡稱當前行或選中塊。

==日常編輯==

• 按住Ctrl滾滾輪,代碼的字體會隨你心意變大變小,對保護視力特別有好處。
• 在編輯區按住右鍵可拖動代碼,省去拉(尤其是橫向)滾動條之麻煩;相關設置:Mouse Drag Scrolling。
• Ctrl+D可復製當前行或選中塊。
• Ctrl+Shift+C註釋掉當前行或選中塊,Ctrl+Shift+X則解除註釋。
• Tab縮進當前行或選中塊,Shift+Tab減少縮進。
• 可拖動選中塊使其移動到新位置,按住Ctrl則為復製到新位置。
• 按下Atl,再拖動鼠標,可以實現部分選擇(即隻選中一個區域內的字符,而不會包含它們所在行的其他字符)。
• 需要更大編輯空間時,F2和Shift+F2分別可以顯隱下方Logs & others欄和左方的Management欄。

==自動完成與縮寫==

1)優化代碼自動完成功能:在Code-completion and symbol browser中,
• 將Automatically launch when typed # letter中的4改成2,這樣打兩個字母就會有提示了。
• 將Keyword sets to additionally include中1到9都勾上(可在Syntax highlighting 的keywords...中設置,其中1是C++關鍵字,3是Doxygen關鍵字;我曾將wxWidgets的類名都加入7並設置相應的字體(粗黑 體),看代碼時特別爽)
• 將Delay for auto-kick-in when typing [.::->]拉到 200ms,這樣快點出來提示
• 選中Case-sensitive match,防止一些無關的東西幹擾,如果你想它幫你糾正大小寫,那就去掉勾
• 在Keyboard short-cuts中將Edit->Code complete的快捷鍵由Ctrl+Space改為Alt+/,因為前者與中文輸入法切換沖突,該快捷鍵為已經輸入的(不是正在輸入的)詞提供自動完成。

2)看Abbreviation一欄,裡面定義了許多縮寫(還可以自定義),隻要輸入這些縮寫,並按Ctrl+J,就可以自動完成常用的代碼框架,並將光標放在恰當的地方(自定義時用|表達)。常用的有:guard、class、switch等。

3) 如果你聲明了一個類,你可以在cpp文件中右擊,Insert->All class methods without implementation...來插入你還沒定義的方法的定義(省去不少打字的功夫哦),也可使用Insert->Class Method declaration/implementation...來插入一個方法的聲明或定義。

==導航相關==

• Ctrl+G 到達指定行,ALT+G 到達指定文件,Ctrl+Alt+G 到達指定函數(支持頭文件中的函數定義),F11 切換源文件與頭文件。
• Ctrl+PageUp 到達上一個函數,Ctrl+PageDown 到達下一個函數。
• Ctrl+B 添加書簽,Alt+PageUp和Alt+PageDown可以切換書簽。
• Ctrl+Shift+B可找到匹配的括號。
• 看長代碼時,可右擊,Folding->Fold All,然後慢慢展開來看,也可充分利用左方Management欄的Symbol瀏覽器。
• 在一個變量、函數或宏上右擊,三個以Find開頭的菜單項,分別可以為你轉到它的聲明、定義和找到所有出現的地方(按F2在下方Thread Search那裡查看)。
其他:
• General Settings中可以設置縮進、自動換行等細節。
• 讓Code::Blocks永遠記住你的Layout,尤其是debug的layout,善用debug工具欄。
• 備份C:\Documents and Settings\[你的用戶名]\Application Data\codeblocks\Default.conf,如遇重裝,將其放在codeblocks.exe所在目錄,就不會丟失你的配置;這樣也可以 打造出Code::Blocks的綠色版。


Ctrl+L 剪切選中行

F11 切換源文件與頭文件

F10 全屏

Ctrl+Shift+B 括號匹配
按下ATL,再拖動鼠標,可以實現部分選擇

Ctrl+B 添加書簽,ALT+PageUp和PageDown可以切換書簽。

Ctrl+G 到達指定行

ALT+G 到達指定文件

Ctrl+Alt+G 到達指定函數(支持頭文件中的函數定義)

Ctrl+PageUp 到達上一個函數

Ctrl+PageDown 到達下一個函數

2012年12月27日 星期四

Visual C++ 2010使用OpenCV的環境設定

在Windows下面使用OpenCV開發程式, 起初的環境設定有一些麻煩, 一開始是使用Code::Blocks.雖然上網搜尋設定後可以成功編譯,但是執行的時候dll檔總是缺東缺西,況且目前的教學幾乎都是使用Visual C++當作Windows開發環境.所以最後還是選擇了使用Visual Studio 2010,以下筆記唯一些環境的設定.

Step1. 下載OpenCV官方網站的安裝檔(目前版本2.4.3)後解壓至目錄(我使用預設目錄C:\opencv)

Step2. 設定環境變數:進入控制台設定環境變數(指定動態連結檔的位置C:\opencv\build\x86\vc10\bin)然後重新開機使生效
PS:記得多路徑要加入分號區隔";"


在專案的屬性管理員中設定OpenCV的include和Lib
Step3. 先在VC中新增一個命令列的空專案,屬性為C++

Step4. 進入該專案的屬性管理員針對Debug和Release做環境設定(以下兩種設定方式幾乎一樣)


4.1 先設定include的位置
左邊欄位選擇C/C++,並且在右邊欄位的"其他Include目錄"選項增加以下目錄:
C:\opencv\build\include
C:\opencv\build\include\opencv
C:\opencv\build\include\opencv2

4.2 隨即進入左欄的"連結器"的"一般"選項,並且設定該右欄的"其他程式庫目錄",然後指定目錄為:C:\opencv\build\x86\vc10\lib

4.3 進入連結器子選項的輸入"選項",並且在"其他相依性"選項中增加:

opencv_calib3d243d.lib
opencv_contrib243d.lib
opencv_core243d.lib
opencv_features2d243d.lib
opencv_flann243d.lib
opencv_gpu243d.lib
opencv_haartraining_engined.lib
opencv_highgui243d.lib
opencv_imgproc243d.lib
opencv_legacy243d.lib
opencv_ml243d.lib
opencv_nonfree243d.lib
opencv_objdetect243d.lib
opencv_photo243d.lib
opencv_stitching243d.lib
opencv_ts243d.lib
opencv_video243d.lib
opencv_videostab243d.lib

PS: 這些連結庫檔案都在C:\opencv\build\x86\vc10\lib的資料夾裡面,Release屬性在這部分的設定就是沒有檔名尾巴的"d"

4.4 接下來換設定Release的屬性工作表

PS2:因為這兩個屬性設定檔在每個OpenCV相關的專案都需要使用到,因此我提供已經寫好的屬性工作表,不用新增,只需要導入即可

For Debug
For Release
PS3:工作表是所有OpenCV相關專案共用一份實體檔案,如果想分開的話請將檔案複製到個別專案資料夾,並且重新尋找導入


Step5. 以上環境設定完成即可開始寫程式

在此提供簡單的讀取圖片程式碼:

#include <opencv2/core/core.hpp>
#include <opencv2/highgui/highgui.hpp>
#include <iostream>

using namespace cv;
using namespace std;

int main( int argc, char** argv )
{
    if( argc != 2)
    {
     cout <<" Usage: display_image ImageToLoadAndDisplay" << endl;
     return -1;
    }

    Mat image;
    image = imread(argv[1], CV_LOAD_IMAGE_COLOR); // Read the file

    if(! image.data )                              // Check for invalid input
    {
        cout <<  "Could not open or find the image" << std::endl ;
        return -1;
    }

    namedWindow( "Display window", CV_WINDOW_AUTOSIZE );// Create a window for display.
    imshow( "Display window", image );                   // Show our image inside it.

    waitKey(0); // Wait for a keystroke in the window
    return 0;
}

2012年12月26日 星期三

OpenCV 2 Computer Vision Application Programming Cookbook


Source Codes
Amazon

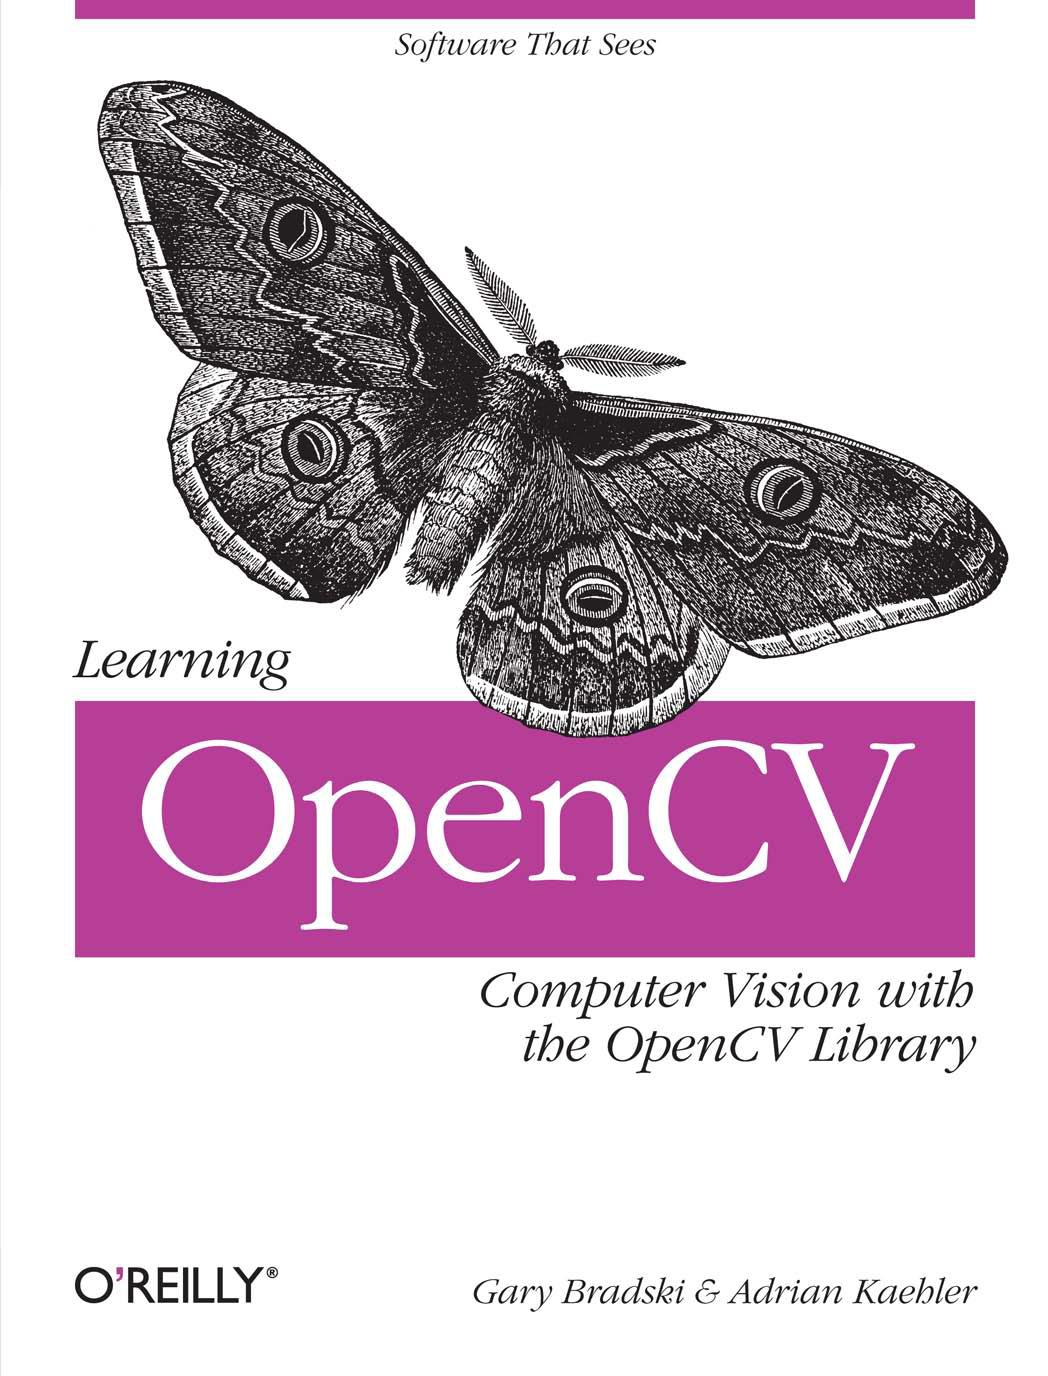
Learning OpenCV: Computer Vision with the OpenCV Library


電子書(eBook)
Amazon


  • Paperback: 555 pages
  • Publisher: O'Reilly Media; 1st edition (October 1, 2008)
  • Language: English
  • ISBN-10: 0596516134
  • 另一本完整的OpenCV教學

Mastering OpenCV with Practical Computer Vision


書中範例程式碼

BOOK

在Codeblocks下導入OpenCV 2.4.x


教學
A.安裝Code::Blocks附帶MinGW版本
http://www.codeblocks.org/downloads/26
B.下載openCV將之解壓縮在C:\ (不能解壓縮在使用者資料夾)

C.修改環境變數,增加PATH=C:\opencv\build\x86\mingw\bin

D.下載MinGW(gcc 4.6),並且安裝(安裝時選擇預設,不要選擇下載最新程式碼)

D.1.將安裝後的C:\MinGW\bin\libstdc++-6.dll複製到CodeBlocks安裝資料夾內的MinGW\bin\

E.設定CodeBlocks編譯器參數
1. Add the OpenCV header files directory
Open Settings → Compiler and debugger... → Search directories tab → Compiler tab
CodeBlock settings: search directory
Click add button for adding a new entry. In the popup dialog, type c:\opencv\build\include,
Add OpenCV include directory to CodeBlocks
and click Ok.

1-2. Add the OpenCV library files directory
Open Settings → Compiler and debugger... → Search directories tab → Linker tab

Click add button for adding a new entry. In the popup dialog, type C:\opencv\build\x86\mingw\lib,

2. Add the OpenCV libraries needed for linking
Open Settings → Compiler and debugger... → Linker settings tab.
CodeBlocks linker settings
Click add for adding new entries and open a popup dialog.
CodeBlock settings: Add libraries to link
Click the "..." button to open the File Open Dialog. Go to c:\opencv\build\x86\mingw\libdirectory and select all files by pressing Ctrl-A.
Select OpenCV libraries
Click Open to add the files,
OpenCV libraries added to CodeBlocks
Click Ok to save all settings.